My “Getting Started” guide for your Unfolded Circle Remote 3. This thing took me hours… Days to learn, so I’m knowledge-dumping that here for you  .
.
1. Web UI Configuration
You absolutely need to enable the Web UI configuration page.
Copy down the PIN somewhere too. I put it in my password manager, and I access my remote using their hostnames, not the IP addresses (which change).
Easiest way is running nslookup in your terminal (any OS):
> nslookup 192.168.101.143
Server:  setup.ui.com
Address:  10.255.253.1

Name:    Remote3-b0aa5c.local
Address:  192.168.101.143
Understanding the Web UI
This screen is very confusing:
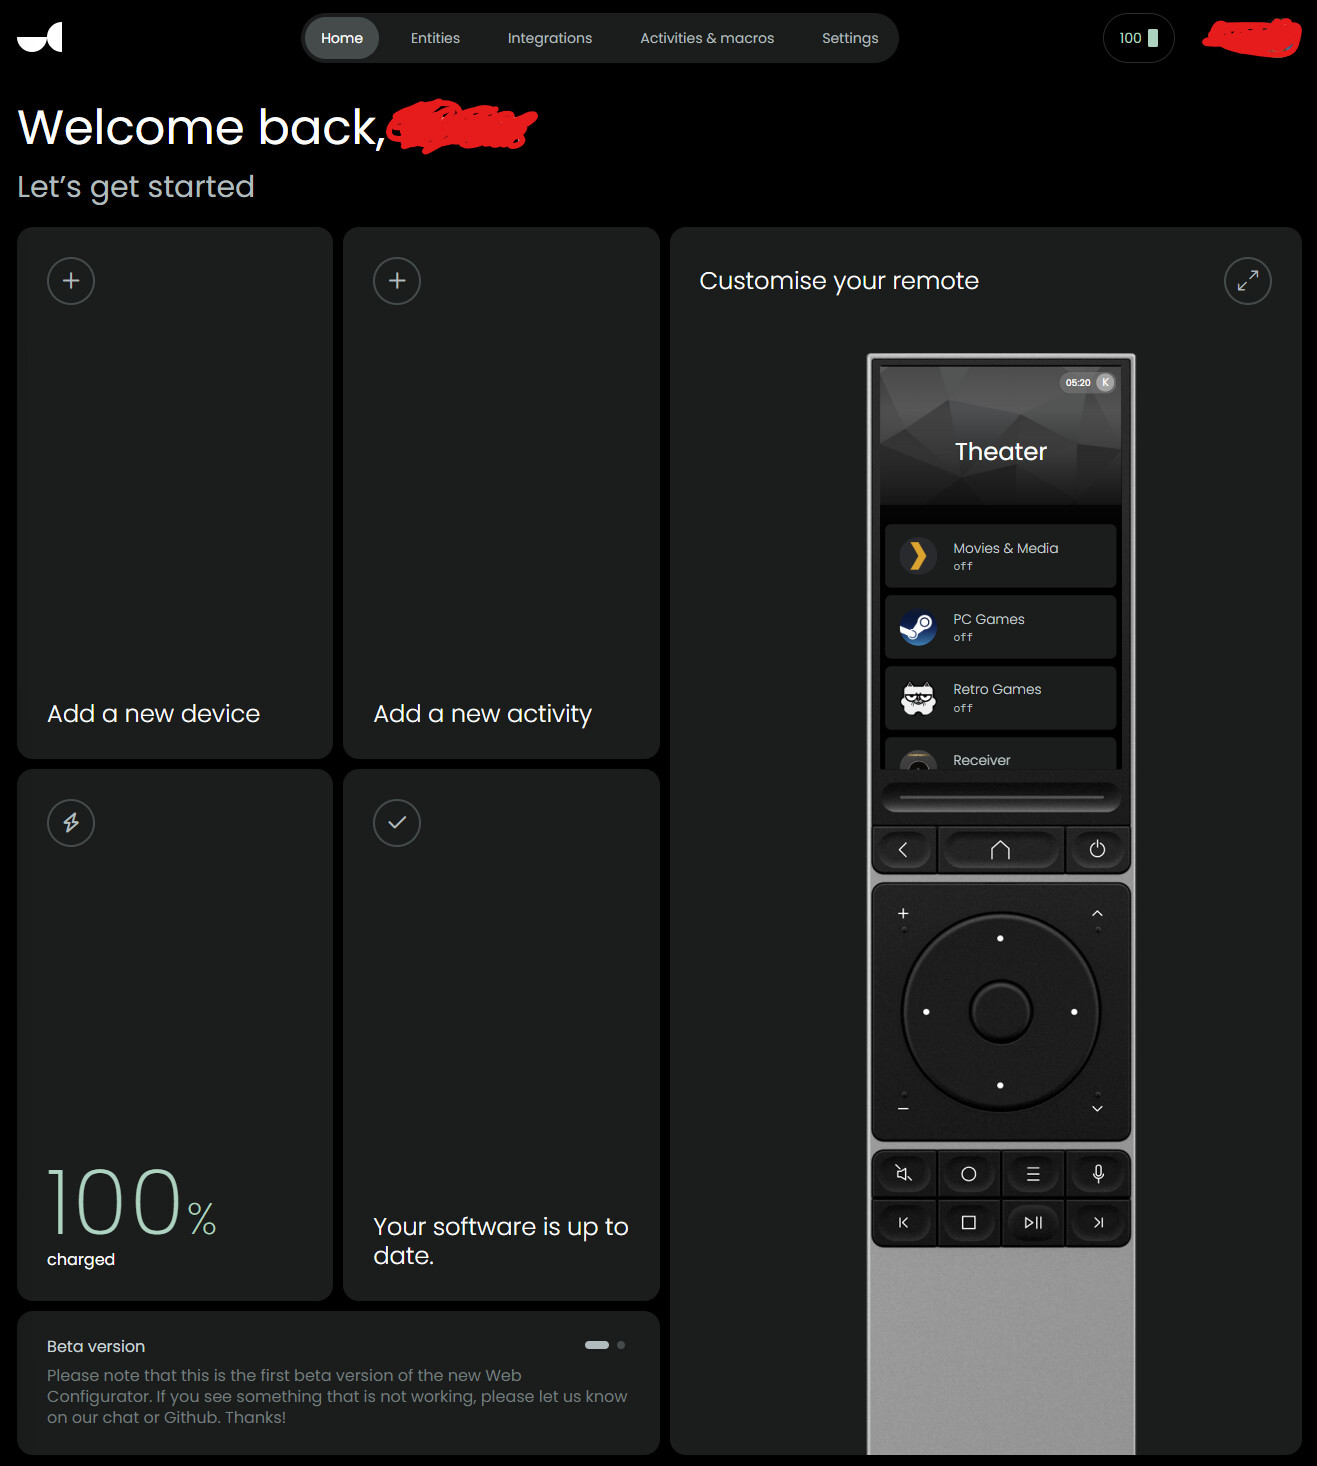
Update your remote first. Mine is already up-to-date, but if you had updates, there’ll be a huge button to press.
2. Add your Docks
Before anything add your dock:
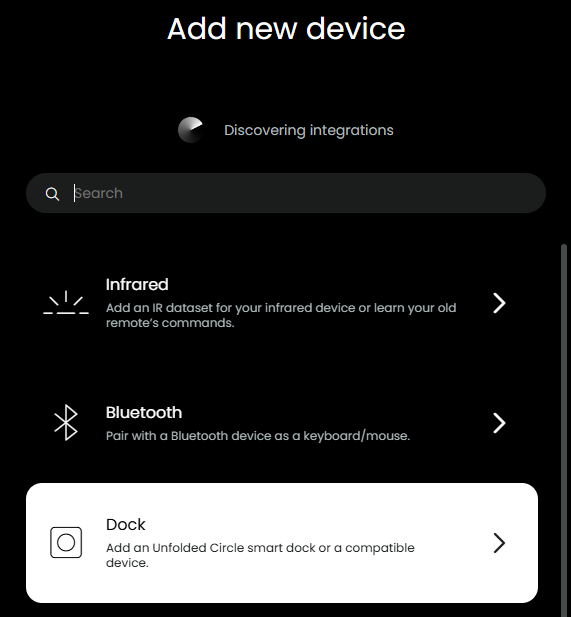
You’ll wanna add your Dock(s) here, go back to the Home screen, then update it first before adding anything else.
2. Configure Settings
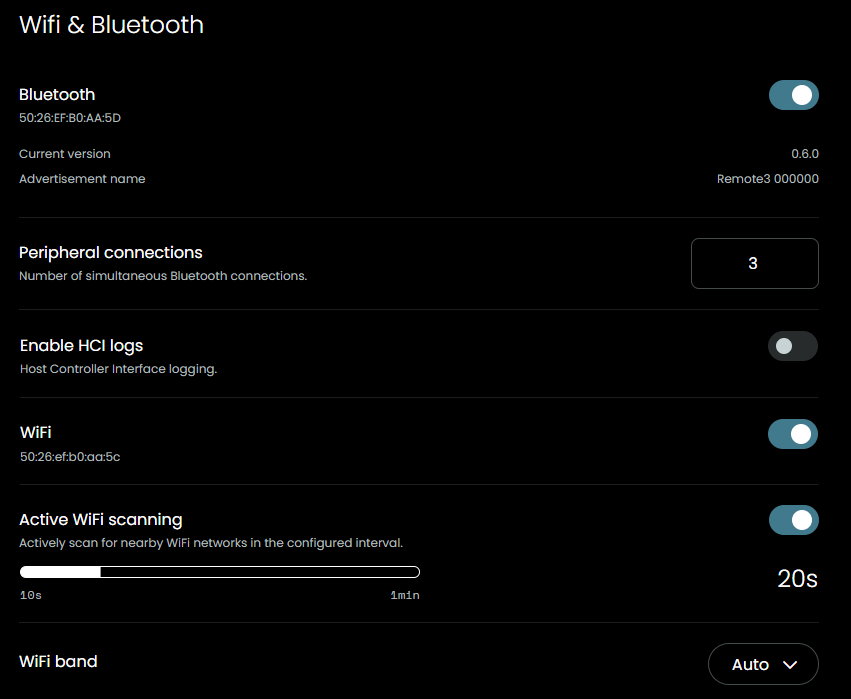
I’m gonna show you mine, you do you:
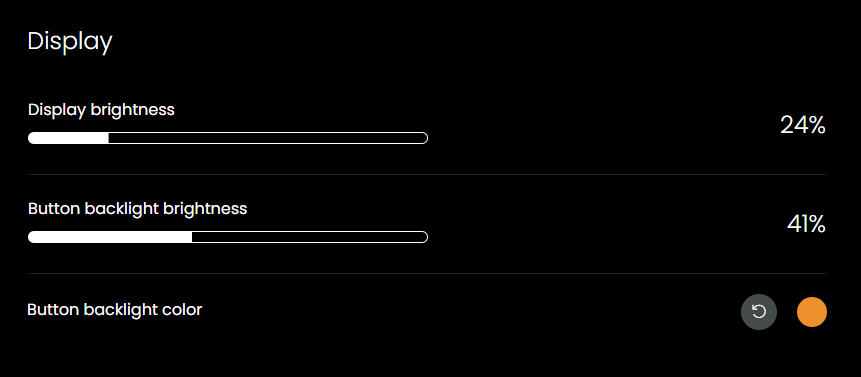
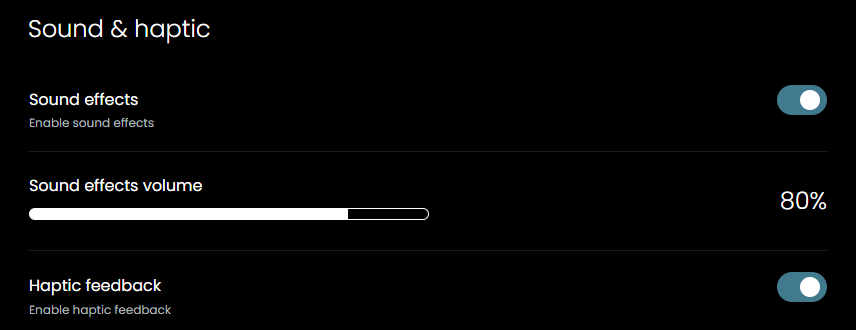
This voice assistant is coming from Home Assistant:
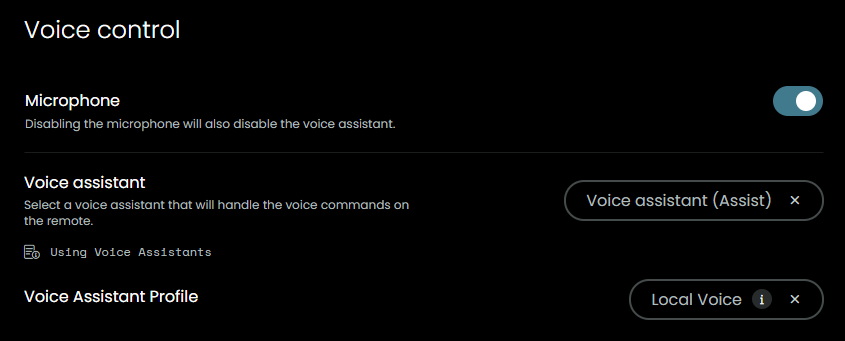
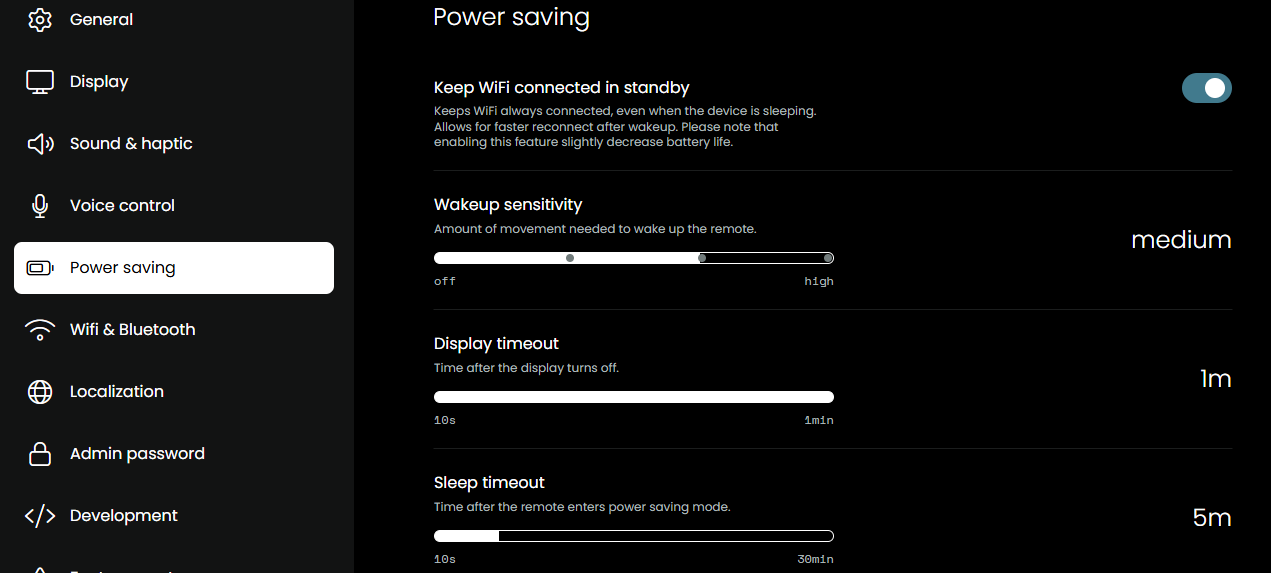
Under “WiFi”, there’s the MAC address listed. If you didn’t use nslookup earlier, the last 6 characters are the device name: 50:26:ef:b0:aa:5c → b0aa5c.
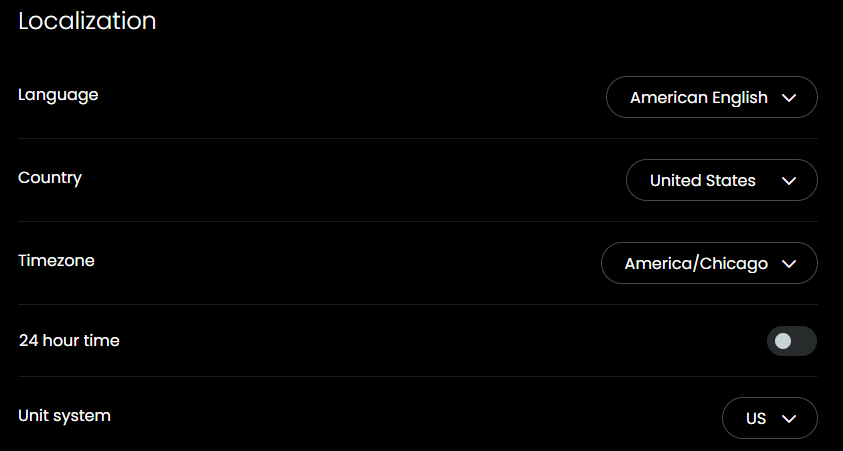
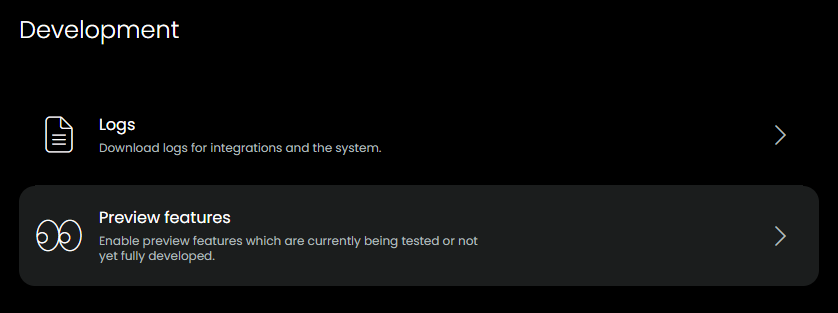
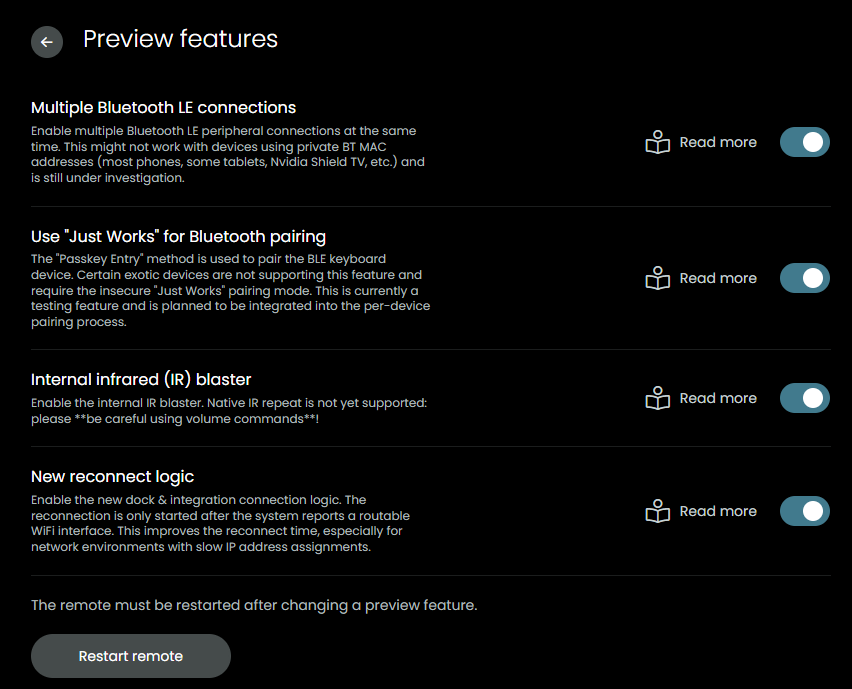
I enabled all the preview features because I’m using them. All but the Internal IR blaster. That’s not working for me:
3. Add Devices (Entities)
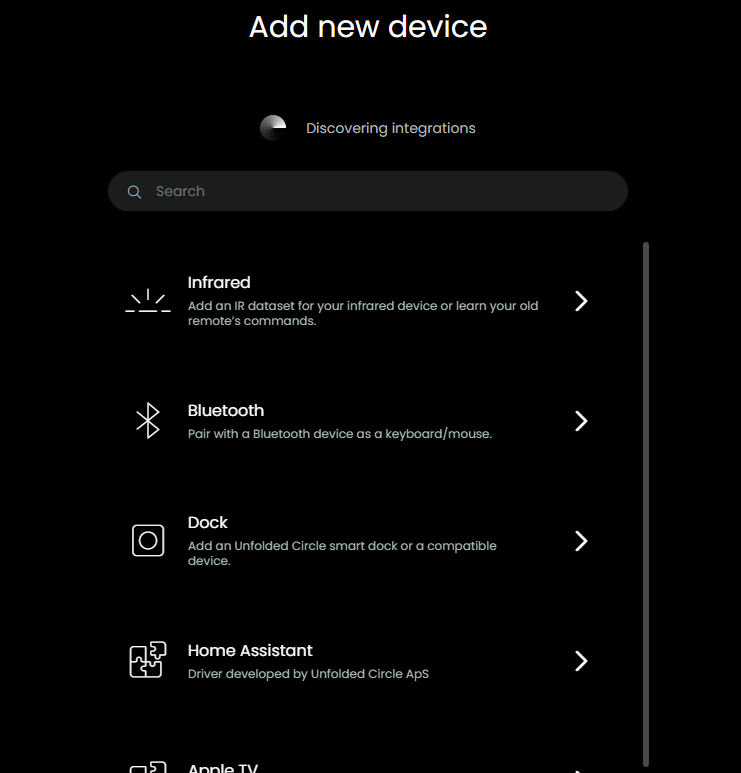
Once you’ve done that, start adding devices. These items are “Integrations” that you can enable to add devices. Very important distinction.
I mistakenly added everything with IR, Bluetooth, and IP (duplicates of the same equipment). I later removed everything except IP control. I can only use the remote with Bluetooth in Windows, so I left that one.
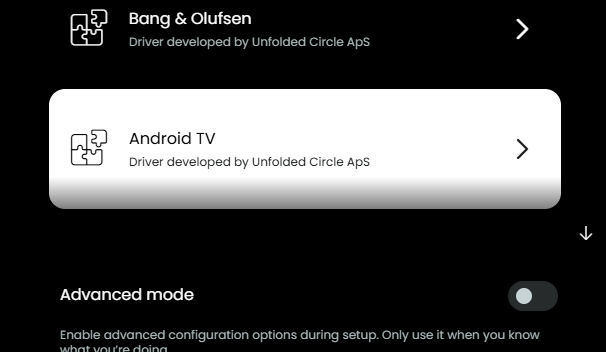
To get IP control working for Android TV, you click “Android TV” in this list:
Custom Integrations
What happens is you’ll need more integrations. I needed one for my LG TV:
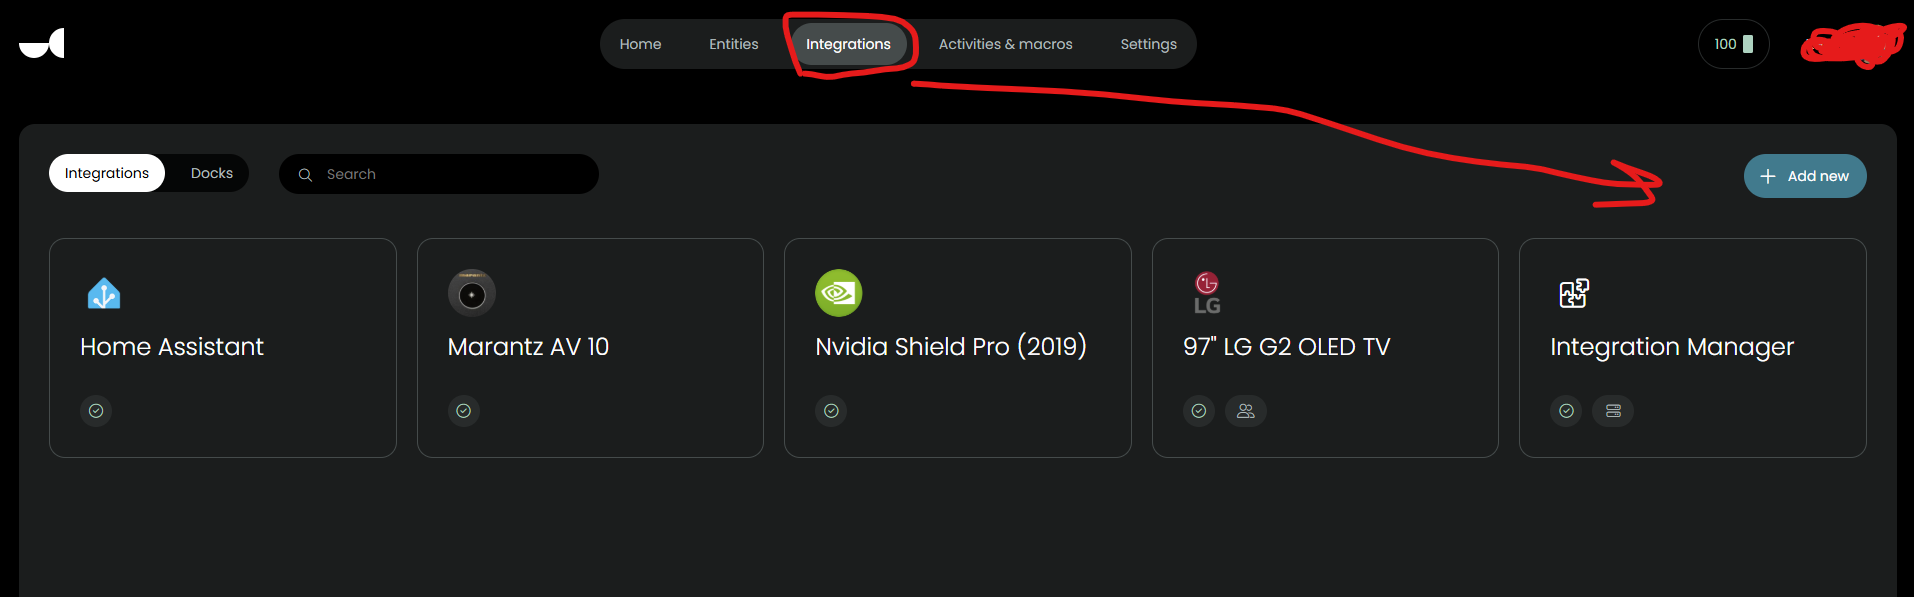
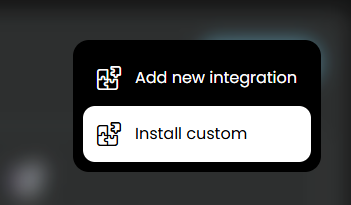
You can find any missing integrations clicking here. The community has added way more than the few default ones.
There’s an Integrations Manager which allows you to auto-update your downloaded integrations. It’s a slick tool and a must-have.
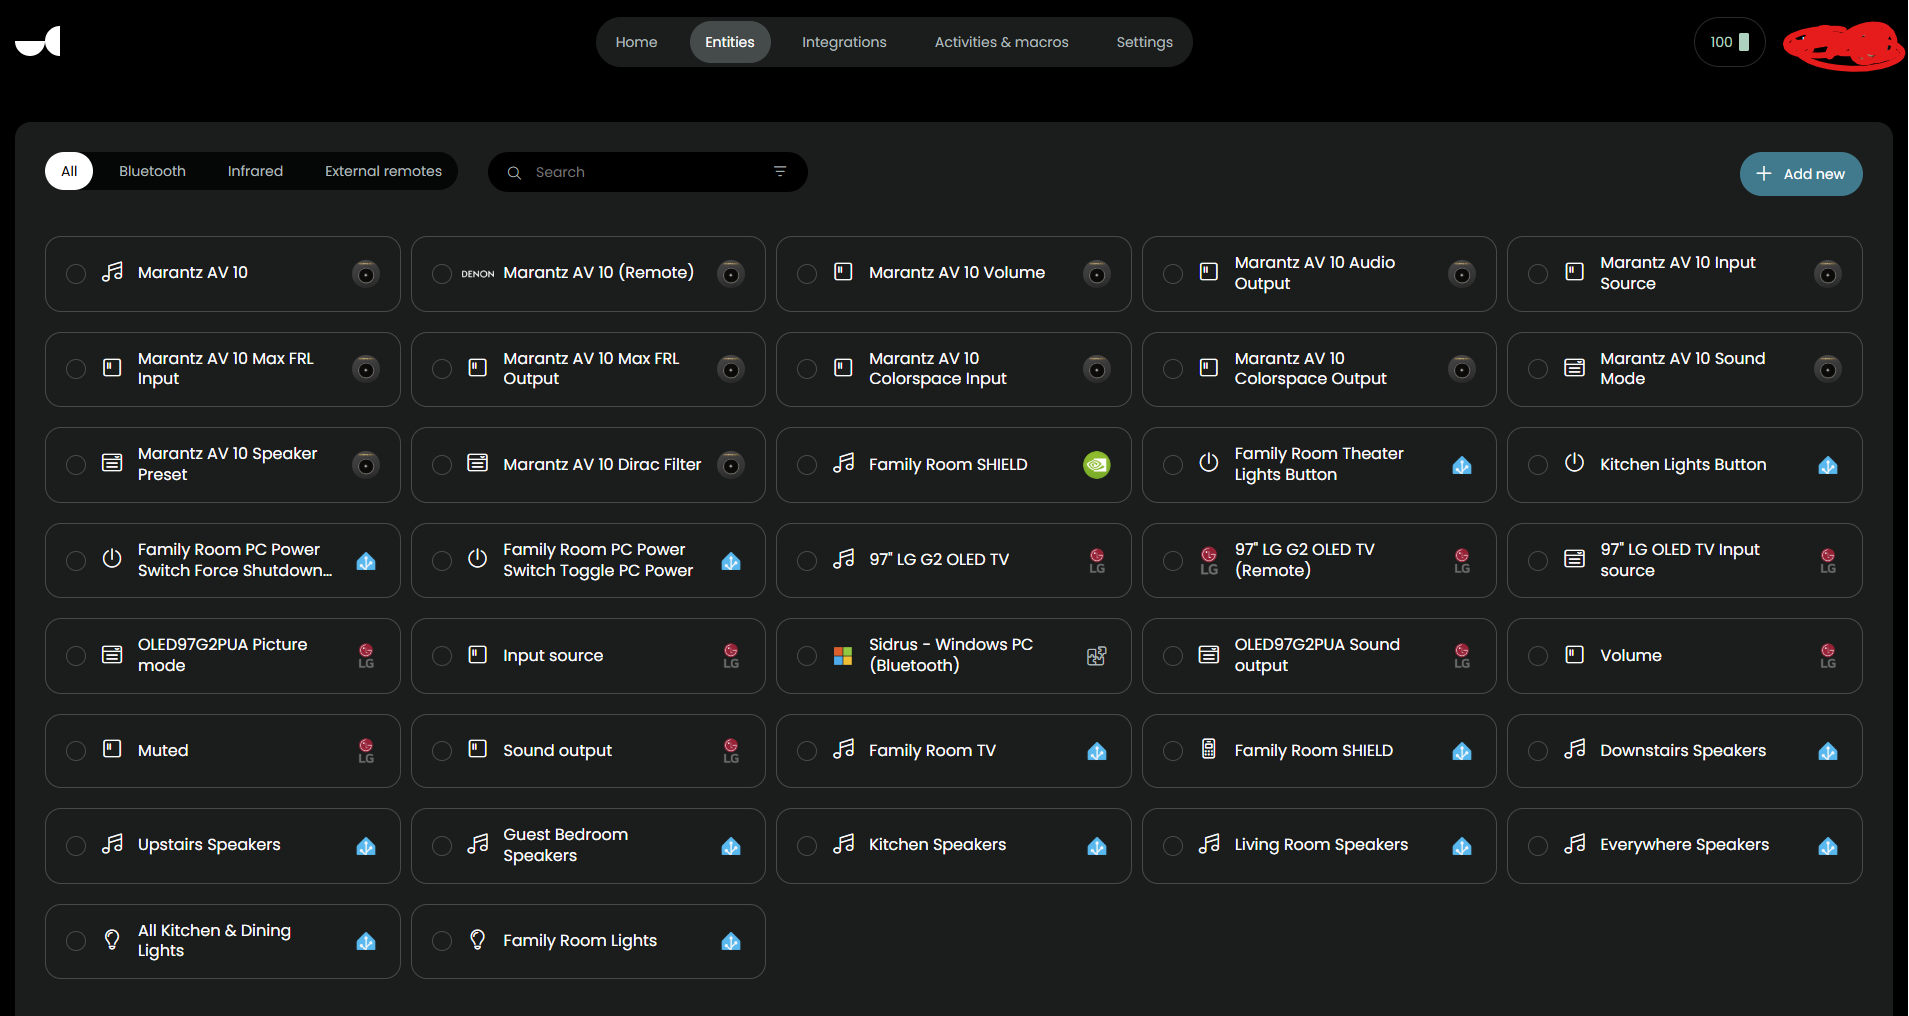
Messy Entities screen
Your Entities screen will look something like this (very messy):
4. Creating Activites
a. Add Macros first
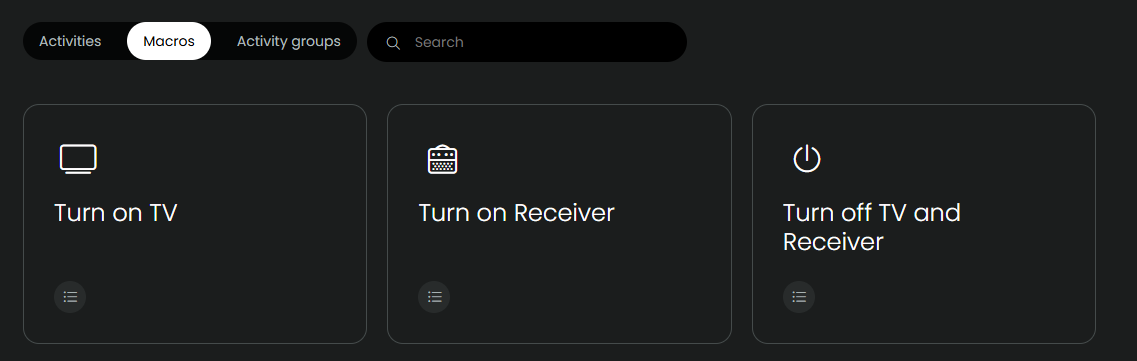
First, you don’t actually wanna create Activities, you wanna create Macros.
I created a few Macros, reusable sequences, that I can use in my Activities:
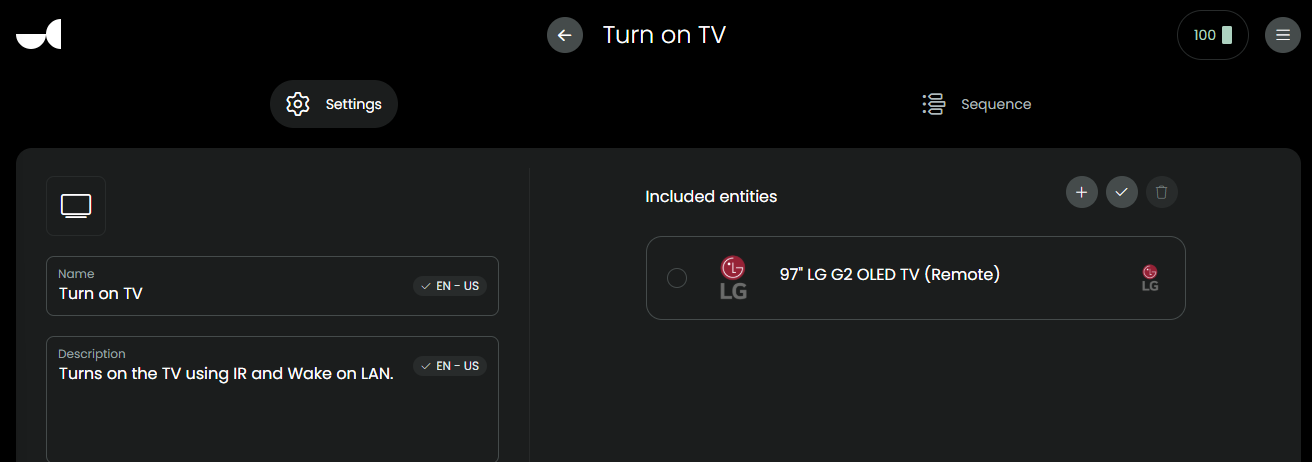
Add Entities
You have to first add entities to your Macro or nothing will show up when trying to sequence it:
Why “Delay” is important
Always add a delay after the “on” action:
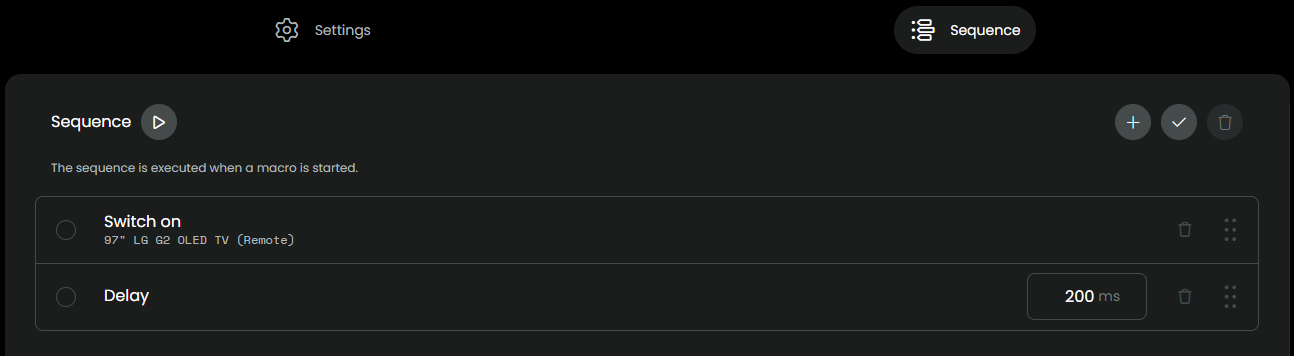
This Delay, even if it’s 0ms tells the Remote 3 what actions to take when swapping Activities. It skips everything before the first Delay; in effect, it will skip my “turn on the TV” part since it’s before the Delay sequence.
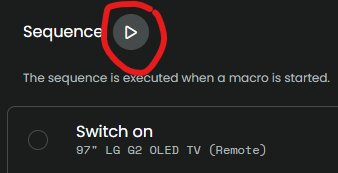
Testing Sequences
This sequence screen is great because you can test the sequence out and look for issues. Just hit the “Play” button:
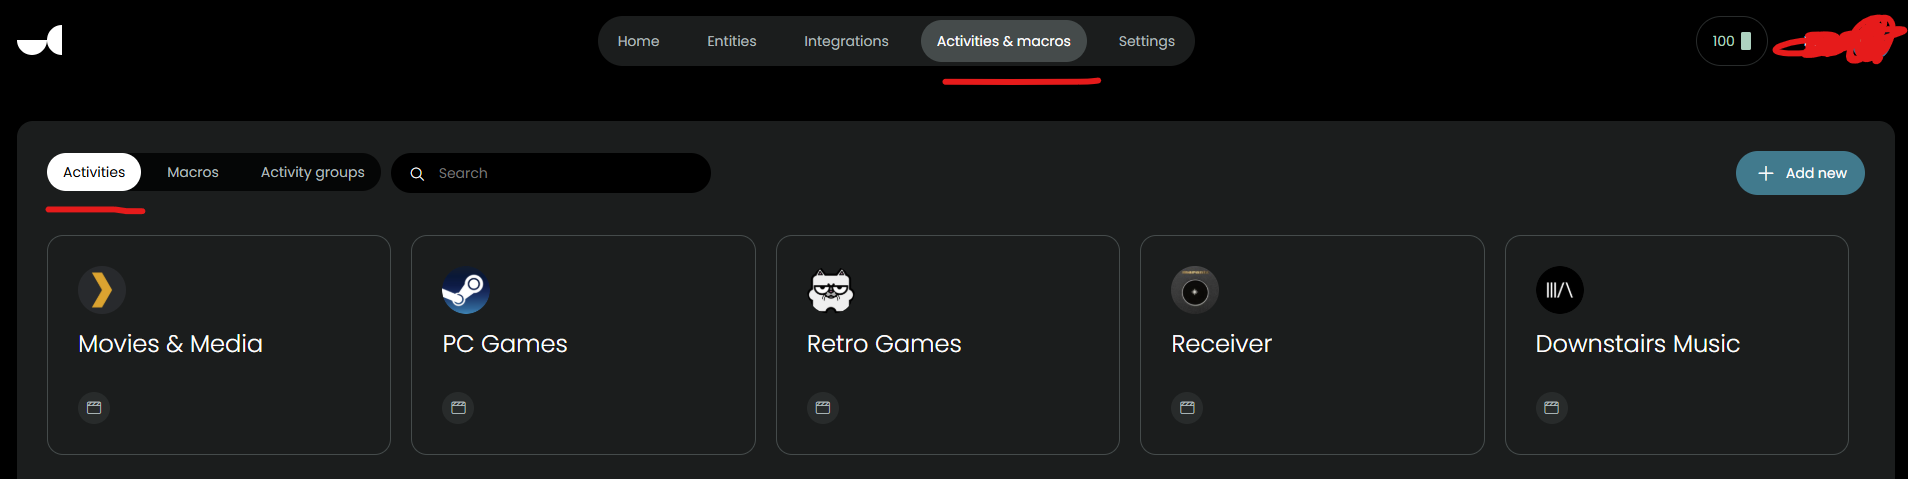
b. Okay, now make an Activity
After you’ve made your reusable Macros, you’ll wanna create Activities:
Add Entities
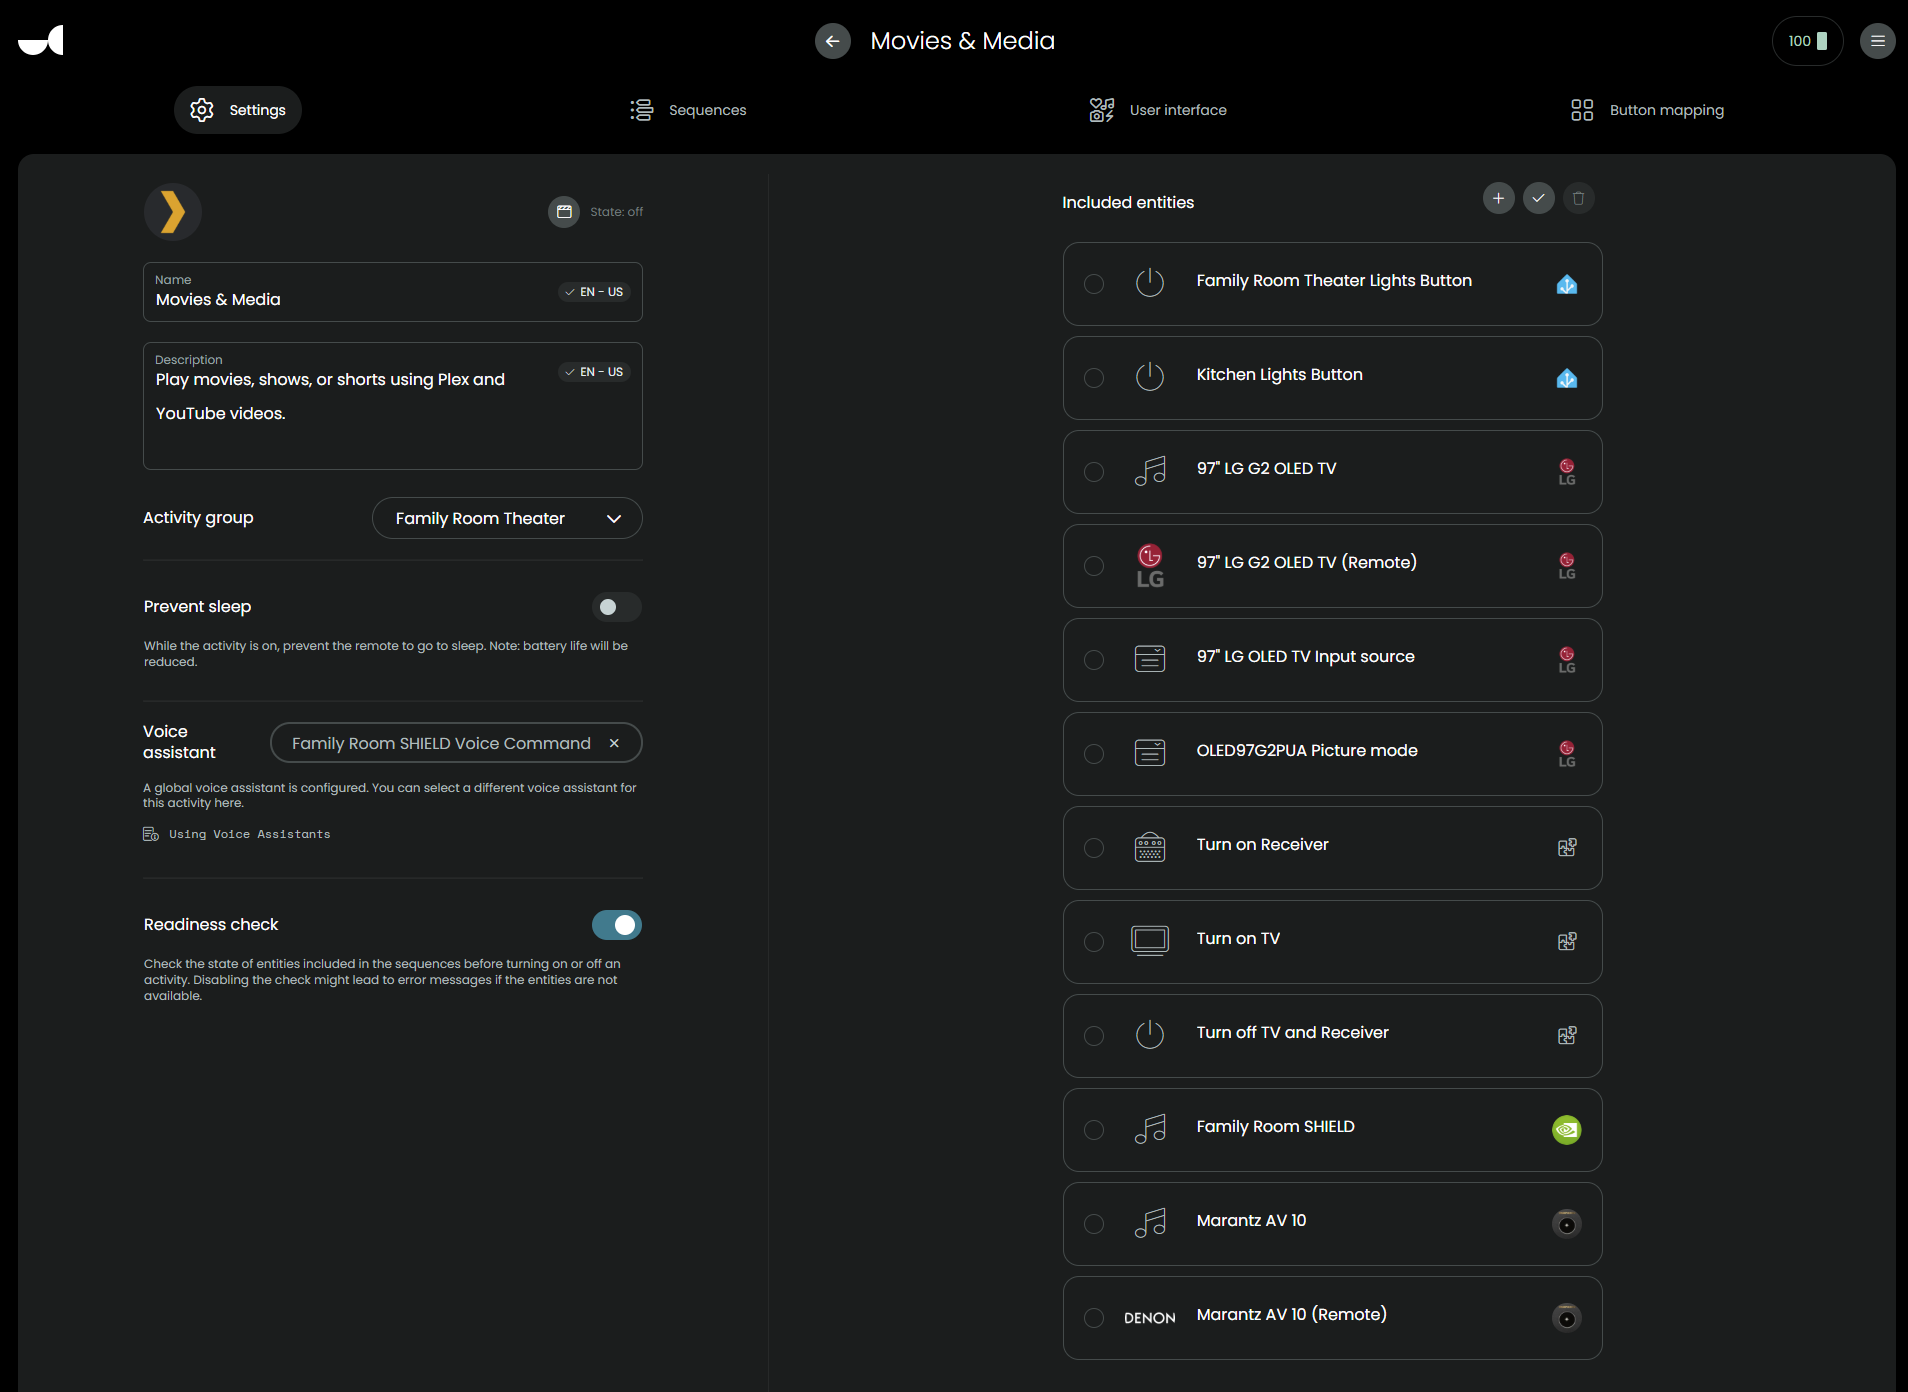
When creating an Activity, you first add Entities, then you can use those entities to turn on and off devices, add icons to the remote screen, and configure the buttons.
WARNING: You cannot add any functionality unless the entity exists for that activity.
Make sure you also add the entities for your Macros; otherwise, you can’t use them in your sequences.
This is an example of the crazy number of entities you might add to a single simple activity:
Configuring Sequences
Once you’ve configured your entities, you can start using them. First, you set up your Sequences:
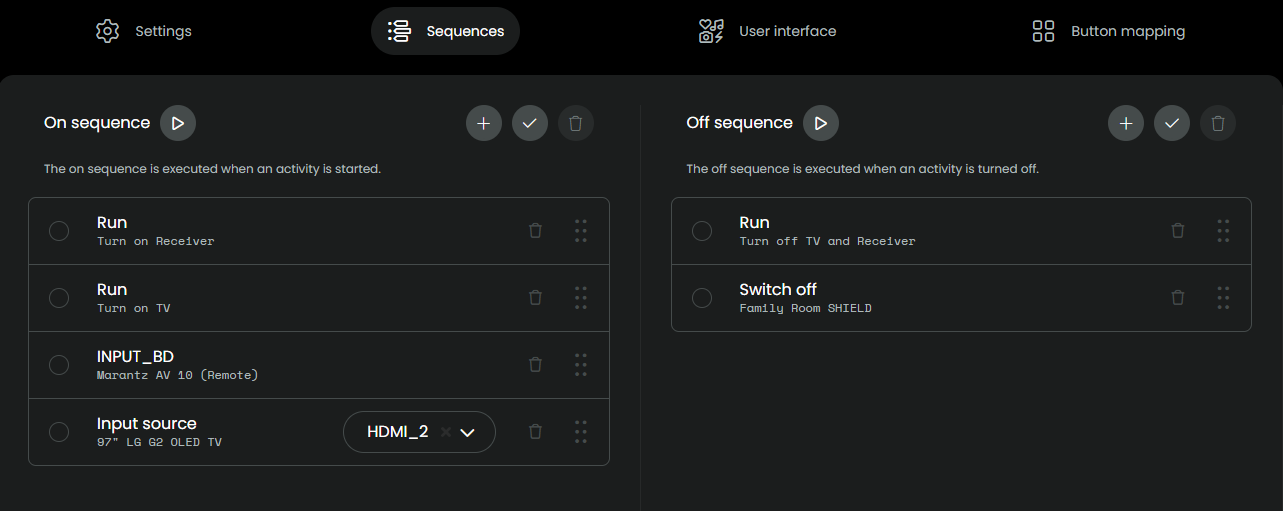
In my case, I used two Macros to turn on the Receiver and TV (both with “Delay” sequences) and then configured the inputs.
Because I’m using IP control, I only need to wait a few milliseconds to change these values. When I used IR, I’d have to wait up to 11 seconds for the TV to fully turn on before changing the source.
Testing Sequences
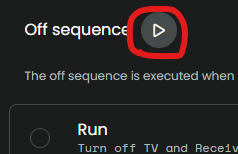
Just like with Macros, you can test these sequences using the “Play” icon:
The User interface is hard
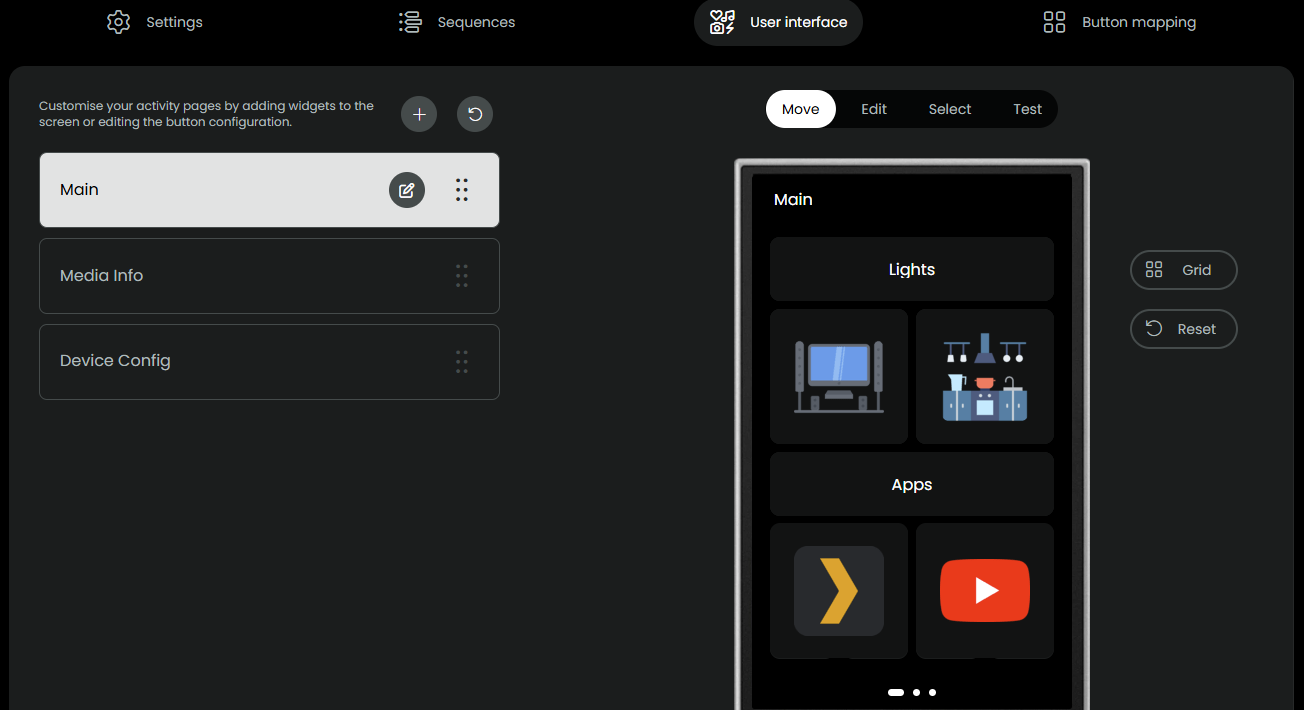
I had no clue what to put in my User Interface, so I experimented with some things and tried to keep it as simple as possible.
This screen lets me toggle some lights and open apps:
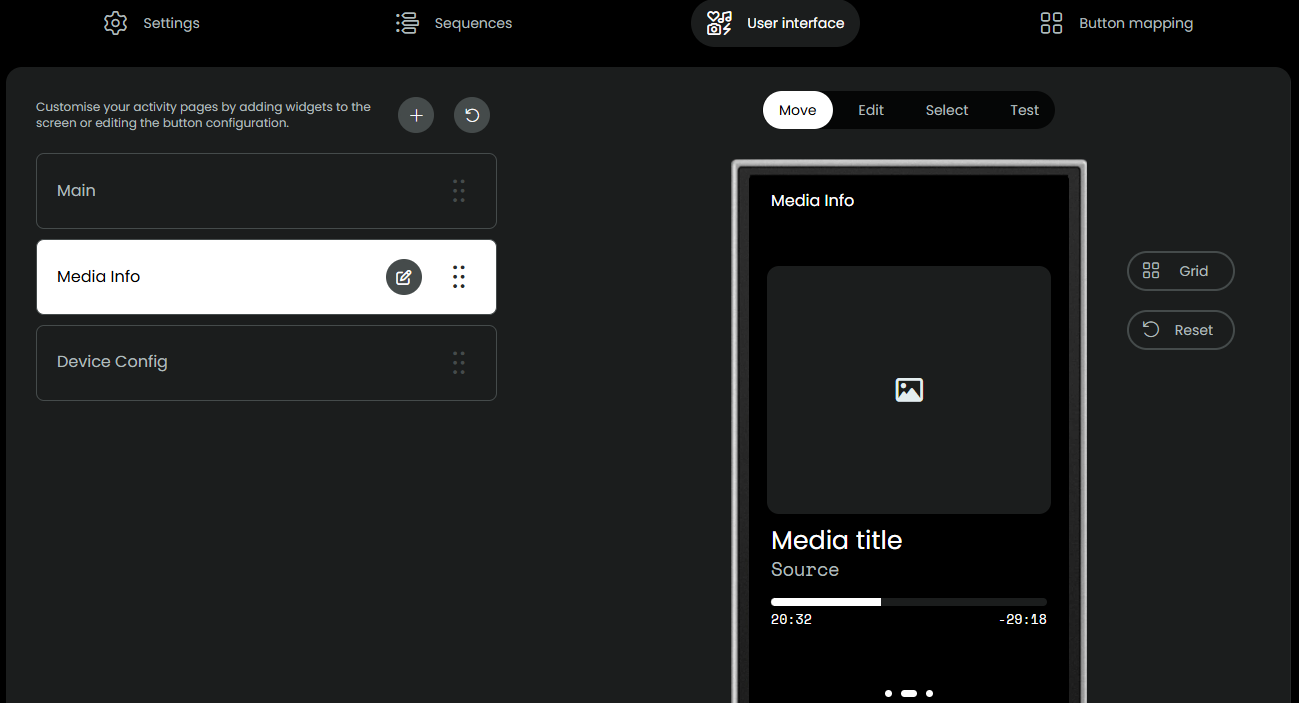
And this Media screen is great because it shows me the currently playing title with a progress meter showing the time remaining:
Button mapping is tedious, but it has a shortcut
When it comes to mapping buttons, there are a few shortcuts you can take because otherwise, you have to program every button from scratch.
If you leave the integration and find the entity for your media player; for instance, here’s one for my AV receiver:
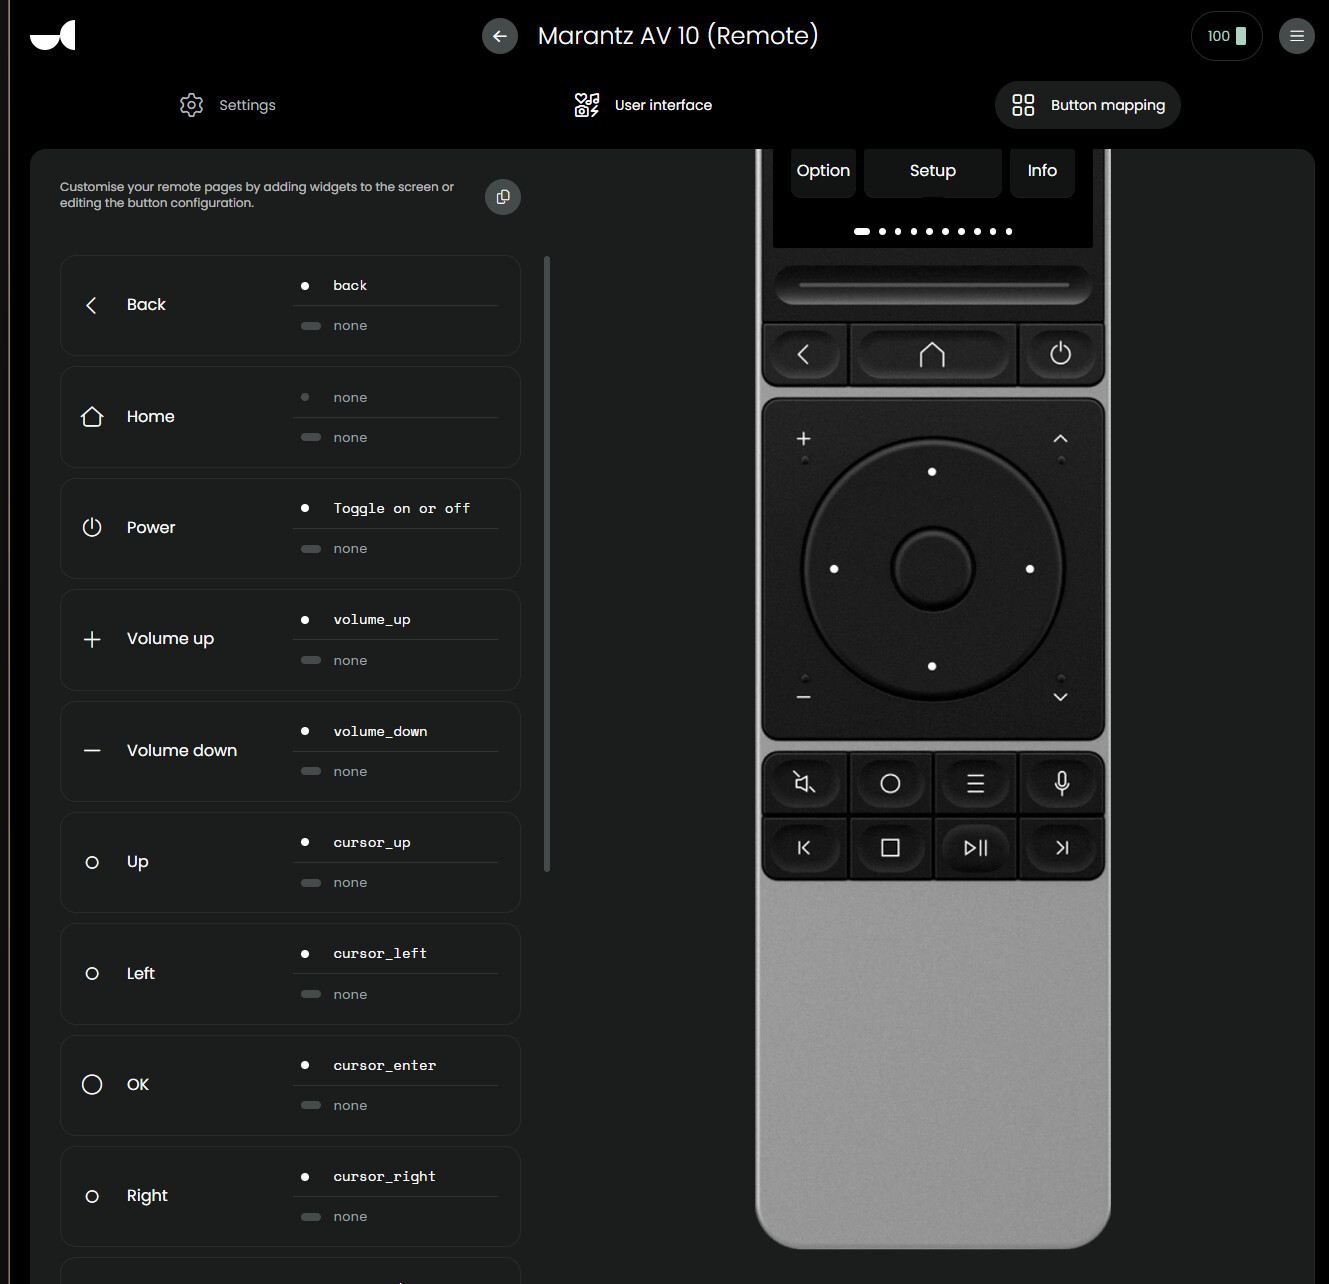
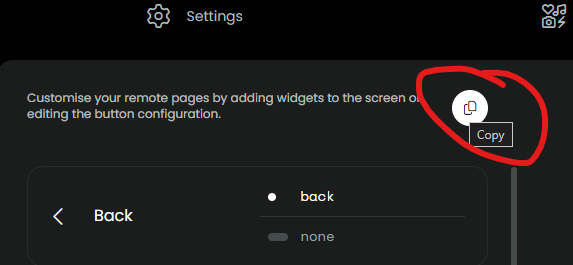
If I want to copy this, there’s a button to do so:
And then you can paste those commands into another remote:
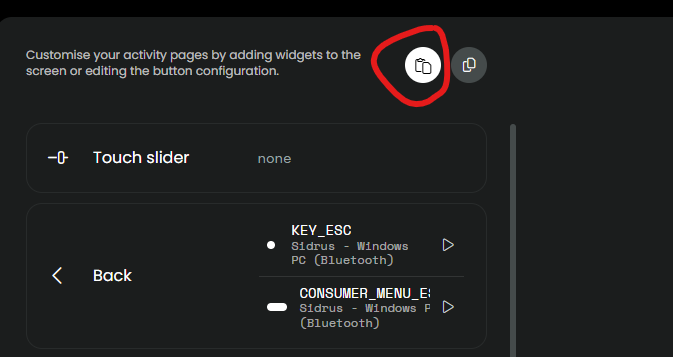
But sadly, in my testing, this only works to copy-paste between Activities, not from Entities to Activities.
Button Considerations
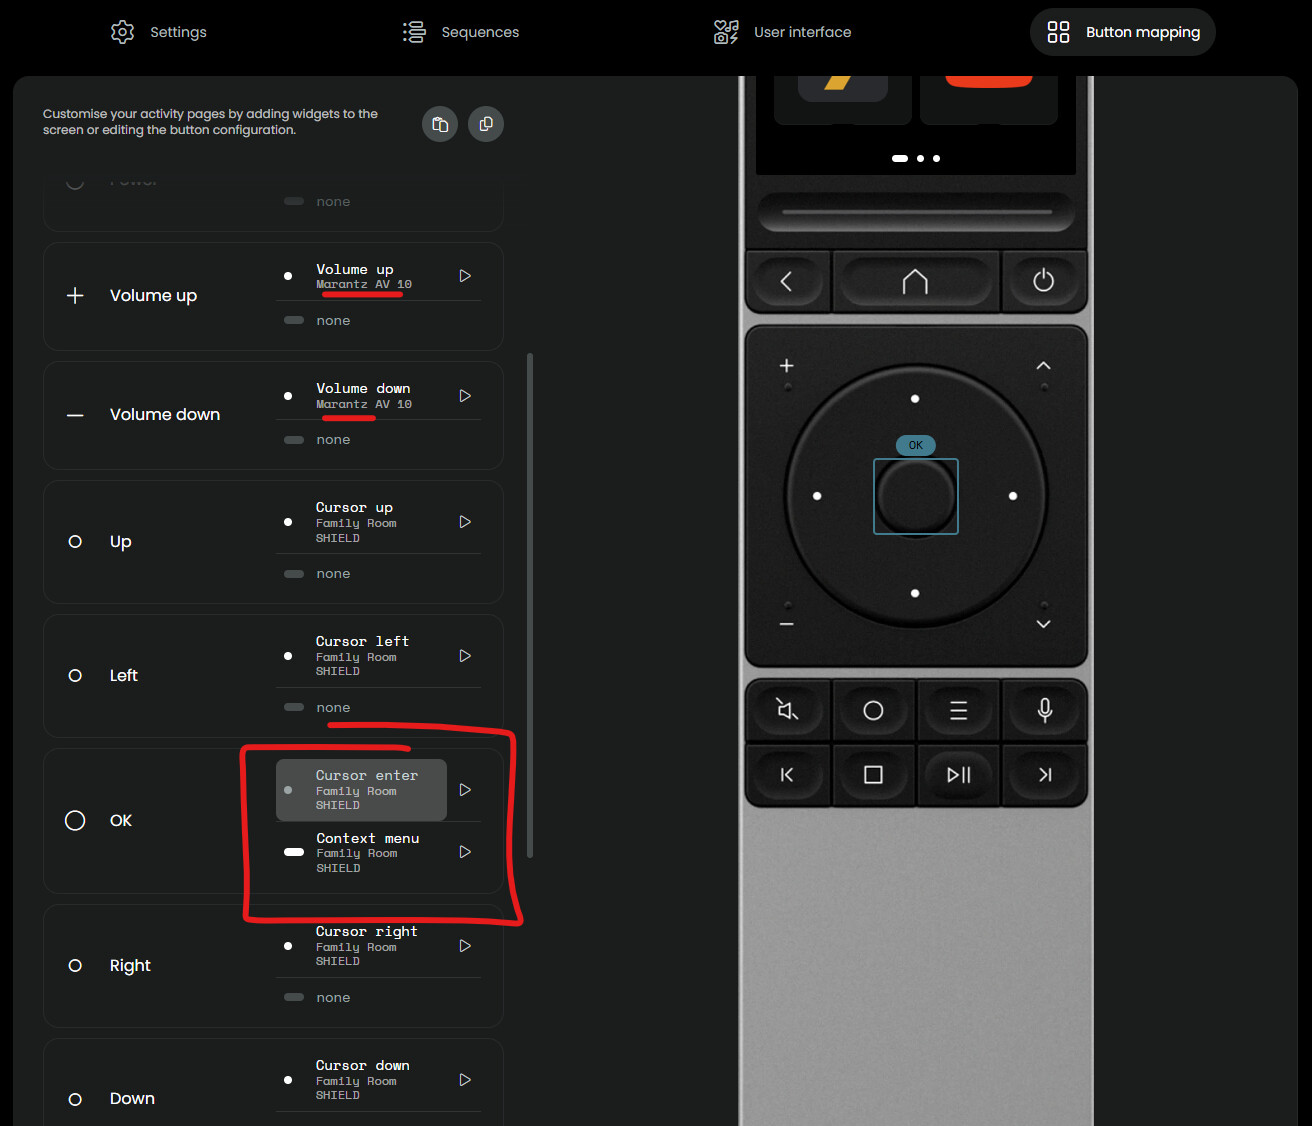
You should configure all your programmable buttons for each Activity. Depending on the Activity, you can typically leave the “Back”, “Home”, and “Power” untouched. Although, I use both “Back” and “Home” for my media player.
In my case, my volume controls need to mess with my AV receiver, and everything else is my normal media player controls:
c. Setting up Activity Groups (required)
You’ll wanna configure Activity Groups once you have at least 2 activities that use the same devices.
These are super important because they let you keep the TV and AV Receiver powered on, change your HDMI inputs, turn off your media player, and switch to another device.
I pictured how I did that here:
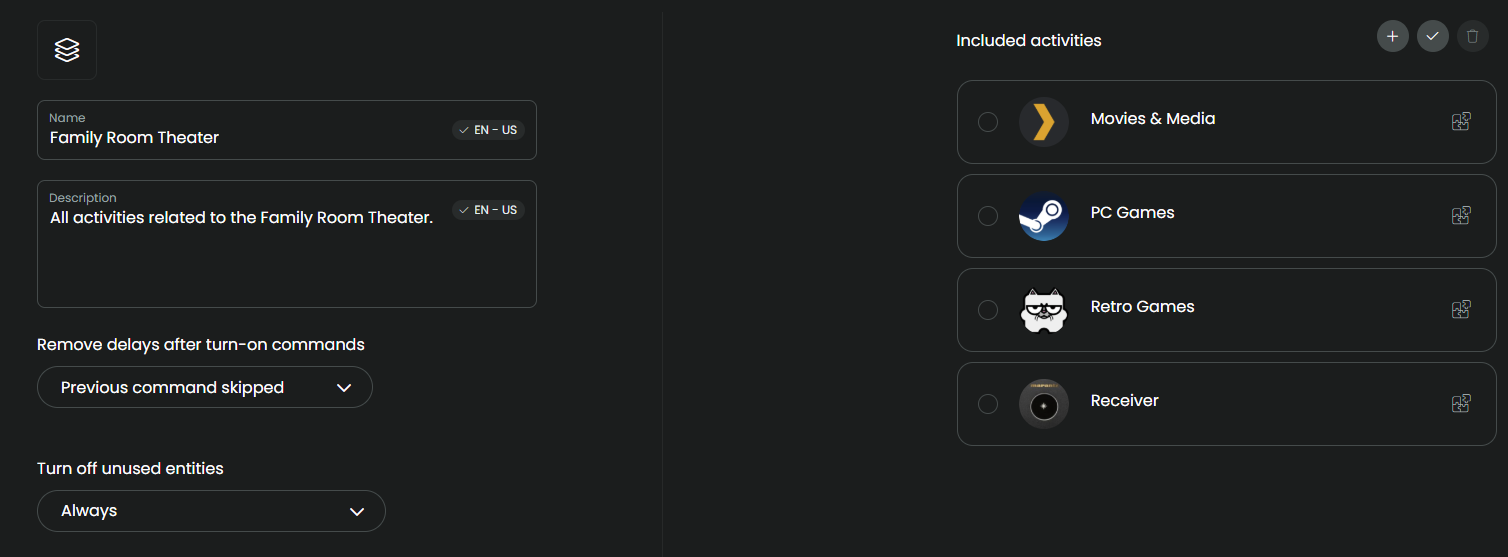
Note the “Turn off unused entities” setting. That determine if these activities automatically turn on-off devices or leave everything on. Here are the other options:
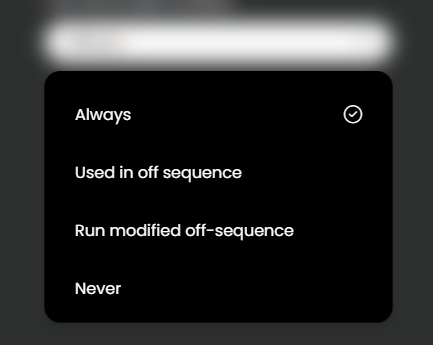
I have no clue what anything does but “Always” and “Never”. “Never” makes your Activity Group a visual grouping with no relation between entities.
5. Configuring the Home screen (or nothing works)
WARNING: You need to configure your remote with your activities and devices or nothing you did will be accessible.
Getting to the screen
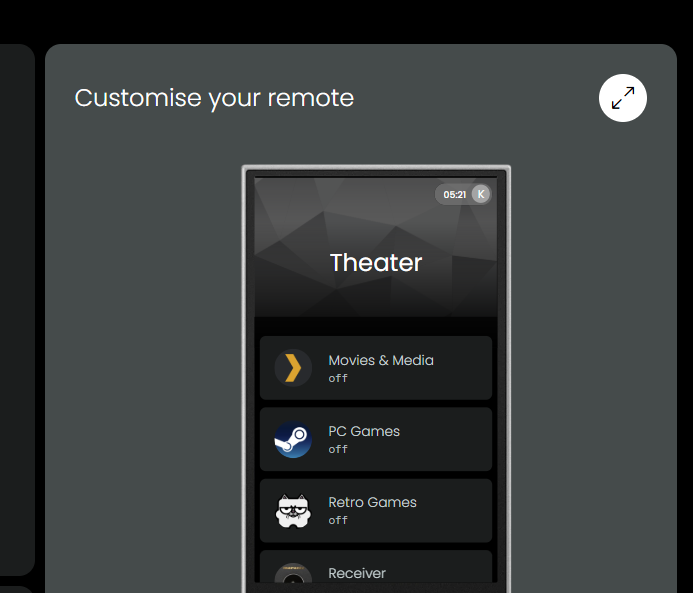
Back on the Home screen, click “Customize your remote”:

Configuring your Remote
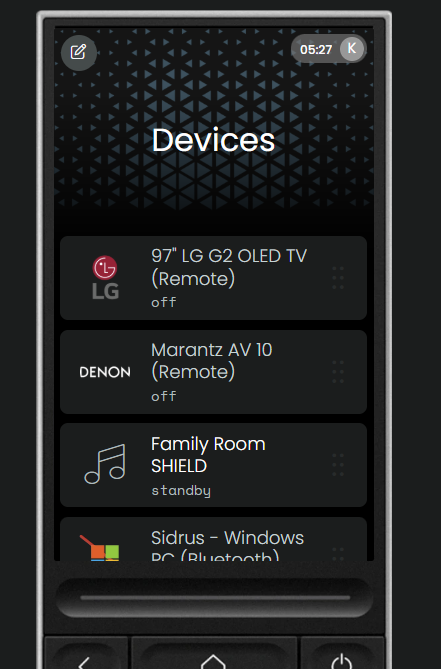
Now that you’re customizing the remote screen, you can add activities and entities based on your preferences. I wanted to replicate Harmony, so I have an “Activities” screen and a “Devices” screen:
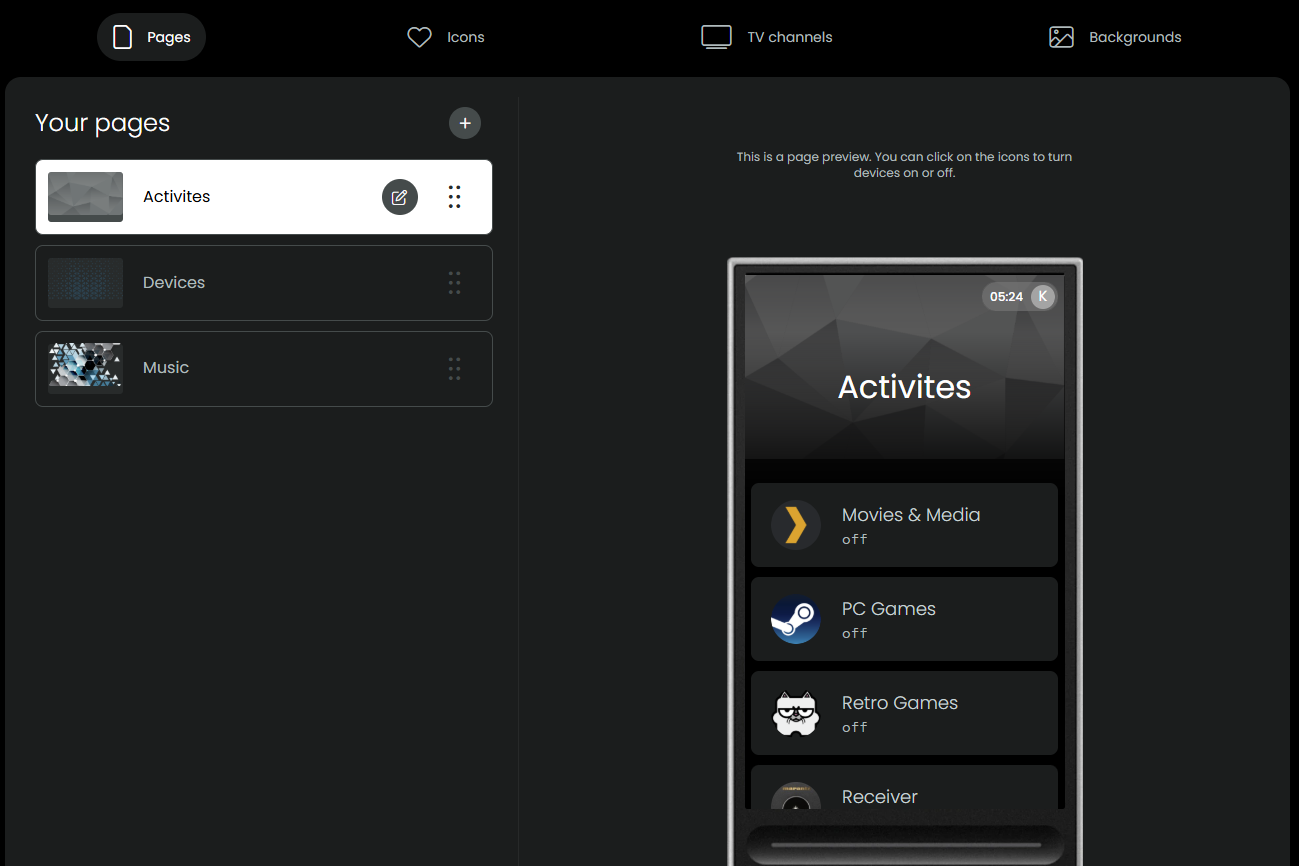
NOTE: I added a Music screen for a completely different “whole home audio” set of Activities unrelated to my home theater.
Once you create your page, you can add entities to it, and those entities can be activites, macros, whatever. I added all my related Home Theater activities:
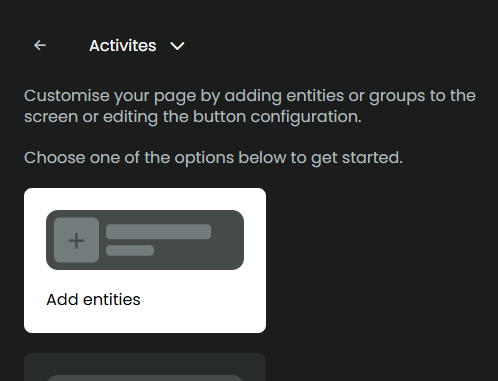
Then under devices, I added my individual devices just like the Harmony:
6. Done!
That’s the basics over. It should give you enough knowledge to skip the first 12 hours of fumbling around with the Remote 3 until you finally get settled in!
